
- All
- Product Name
- Product Keyword
- Product Model
- Product Summary
- Product Description
- Multi Field Search
Views: 0 Author: Site Editor Publish Time: 2026-07-02 Origin: Site


The selection of aggregate dictates both the structural integrity and the final aesthetic of any composite surface, making aggregate sourcing a critical project phase. Specifying the wrong type of glass can lead to costly failures, including aggregate sinking in resin, poor binder adhesion due to glass dust, color bleeding, or grinding blowouts during the polishing phase. This guide provides a technical framework for evaluating and selecting the correct glass aggregate based on matrix compatibility, sizing standards, and finishing requirements. Whether you are pouring a commercial floor or casting decorative homeware, understanding how different binders interact with crushed glass ensures a durable and visually striking result. You need to match the physical properties of the aggregate to the chemical reality of your chosen binder system.
Matrix Compatibility Dictates Selection: The choice between an epoxy, polyurethane, eco-resin, or cementitious binder strictly limits the acceptable size, weight, and edge profile of the glass aggregate.
Optical Interactions Matter: Clear glass absorbs the visual color of its surrounding matrix, whereas colored crushed glass maintains its hue regardless of the binder tint.
Preparation Prevents Failure: Utilizing unwashed or improperly tumbled glass introduces microscopic dust that compromises binder adhesion and causes cloudy finishes in clear resins.
Sizing Requires Precision: Achieving a professional terrazzo look requires standard aggregate grading and precise aggregate-to-binder ratios to ensure even distribution and structural stability.
Different applications demand distinct performance metrics from your chosen aggregate. Commercial terrazzo flooring requires high impact resistance and long-term durability under heavy foot traffic. The glass must withstand aggressive grinding and polishing without fracturing. You cannot use fragile craft glass on a floor that will see pallet jacks or heavy foot traffic. In contrast, decorative resin pieces, jewelry making, and mosaic paintings prioritize optical clarity and vibrant color retention. For decorative homeware like coasters or trays, quick demold times and lightweight suspension are often the primary success metrics. You have to evaluate the end-use environment before ordering materials.
Application Type | Primary Success Metric | Aggregate Requirement | Common Binder |
|---|---|---|---|
Commercial Flooring | Impact resistance, wear tolerance | Hard, graded, dust-free chips | Epoxy or Cementitious |
Resin Art / River Tables | Optical clarity, suspension | Clean, tumbled, specific gravity matched | Deep Pour Epoxy |
Decorative Homeware | Fast demold, lightweight | Small sizing, vibrant colors | Eco-Resin (Jesmonite) |
The specific gravity and viscosity of your binder significantly affect how glass aggregates behave during the pour. Traditional cement is dense and holds heavy glass well, but its porosity requires careful sealing. Epoxy resins offer a non-porous, high-adhesion matrix, but their lower viscosity can cause heavy glass to sink straight to the bottom of the mold. Modern acrylic-modified eco-resins set rapidly, which helps suspend glass but leaves a short working window. Deep pour epoxies generate exothermic heat during curing; dense glass aggregates absorb and alter this thermal profile, sometimes accelerating the cure time unexpectedly. You must monitor the temperature of the room and the mix.
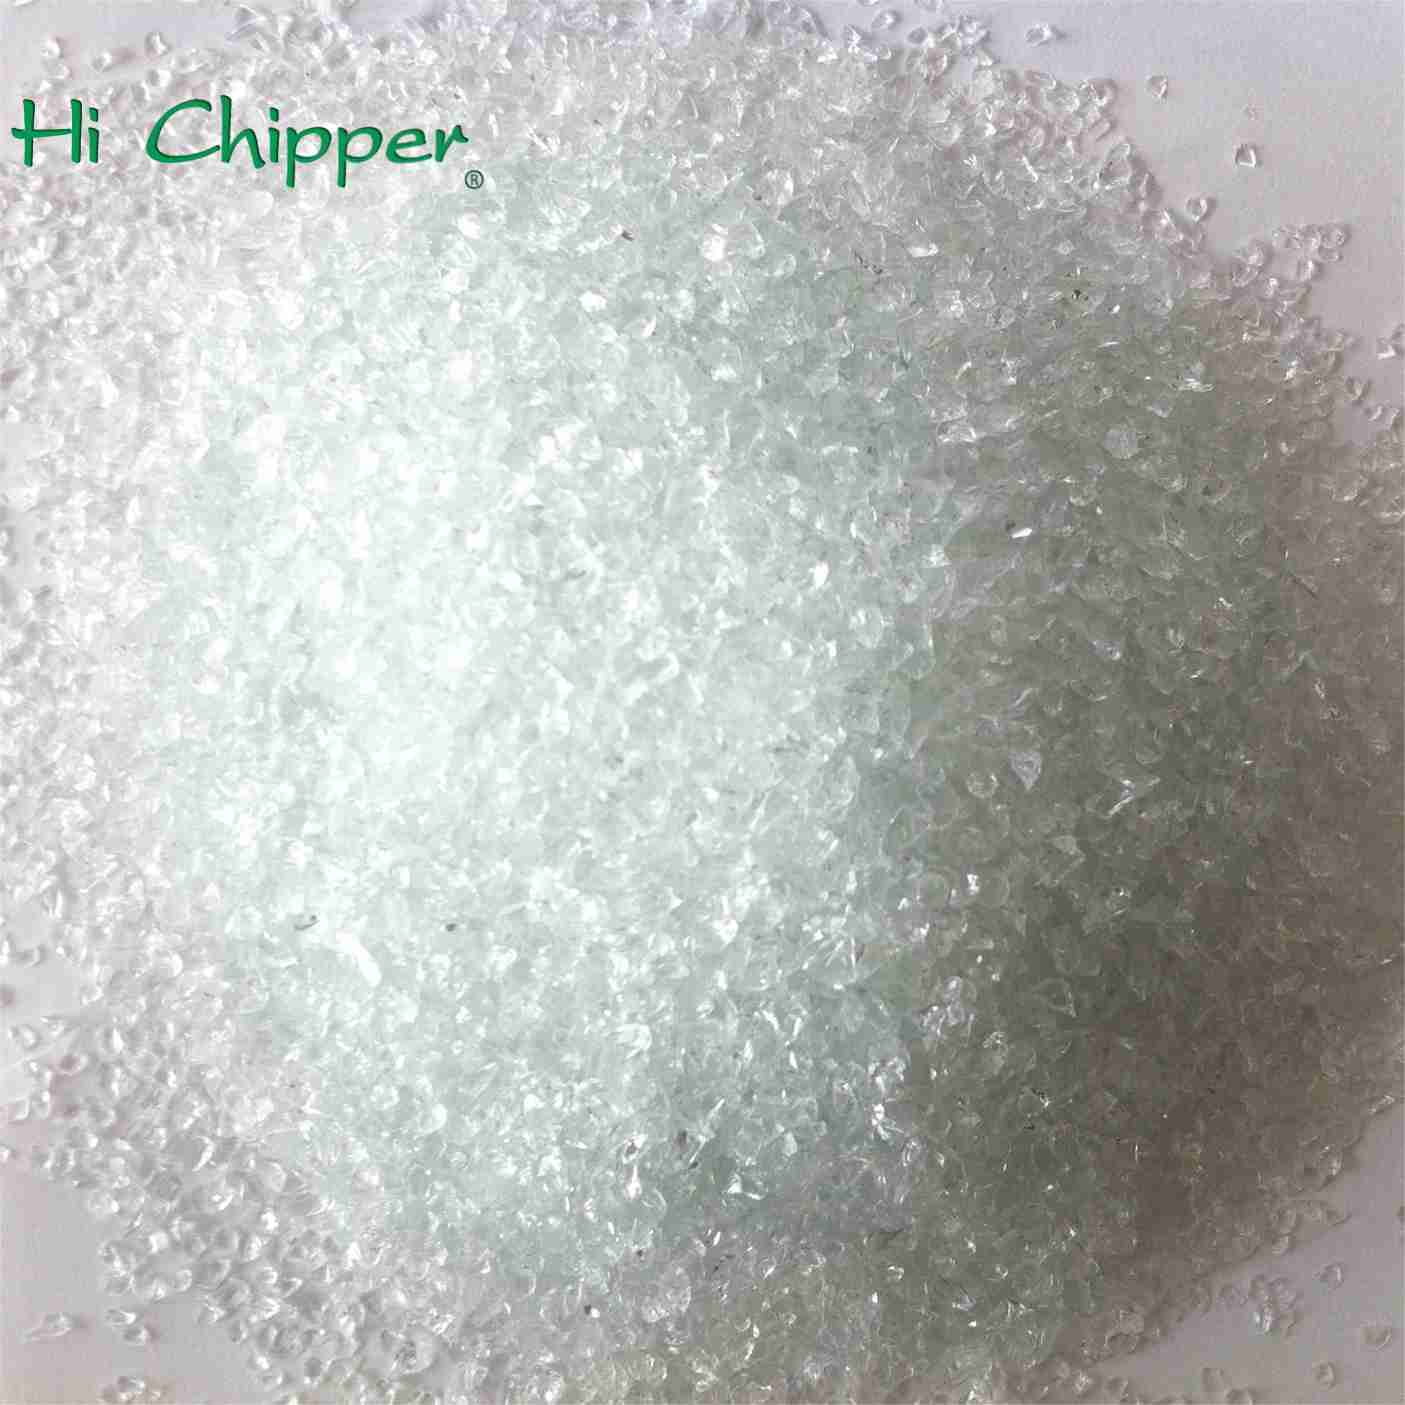
Understanding optical interactions prevents design failures. Clear glass creates an optical illusion in tinted matrices. Clear glass suspended in a red epoxy will visually read as red, absorbing the surrounding color. If you want distinct, contrasting aggregate colors, you must use Colored Crushed Glass. Distinguish between surface-dyed craft glass, which carries a high risk of color bleed in solvents and resins, and inherently colored glass, which is color-fast and chemically stable. Surface dyes will strip off when exposed to the chemical heat of curing epoxy, ruining the entire batch.
Specialized terrazzo glass chips differ significantly from generic craft glass. Manufacturers produce them to specific hardness and sizing standards to survive heavy industrial grinding. Premium Terrazzo Glass provides consistent light refraction and depth, essential for commercial architectural designs. Generic craft glass lacks this structural integrity and shatters or pops out when you run a 40-grit metal bond diamond across the surface.
Single-sided mirrored glass adds exceptional depth and light refraction to surface designs. It introduces specific risks during the finishing phase. During aggressive grinding phases, the mirror backing delaminates, leaving dull, clear glass exposed and compromising the intended aesthetic. Mirrored aggregates fit better in cast resin art where extensive surface grinding is not required. If you must grind mirrored glass, use fine grits and slow machine speeds.
A balanced visual texture requires mixing opaque aggregates, such as marble, quartz, or solid colored glass, with translucent glass. This framework prevents the design from becoming visually overwhelming. Translucent glass provides depth and catches light, while opaque aggregates anchor the pattern and provide solid color definition. A standard mix might use 70% opaque marble chips and 30% translucent glass for accent.
Achieving a professional finish requires standard aggregate grading. Industry-standard sizes include Size 0 (1/16"–1/8"), Size 1 (1/8"–1/4"), and Size 2 (1/4"–3/8"). Specifying a recipe of mixed sizes minimizes voids between the chips, creating a denser surface and reducing the required volume of expensive epoxy or cementitious binders. A poorly graded mix leaves large gaps filled only with resin, which weakens the floor and increases material costs.
Select your primary aggregate size based on the desired floor thickness (usually Size 1 or 2).
Add a smaller aggregate (Size 0) at a 20-30% ratio to fill the interstitial spaces.
Blend the dry aggregates thoroughly before introducing them to the binder.
Test the packing density in a small cup to ensure minimal void space.
Standard mix ratios vary by binder. A traditional DIY cementitious formula utilizes 3 parts aggregate, 2 parts sand, and 1 part Portland cement. High-density glass alters volume-to-weight calculations compared to lighter aggregates like pumice or plastic chips. Calculate ratios by weight to ensure consistent batching, especially when scaling up for large floors. Weighing materials prevents the inconsistencies that happen when using volume buckets.
Upcycling broken glass bottles for DIY terrazzo presents logistical and safety challenges. Manual crushing generates hazardous silica dust and sharp shards. Essential PPE is non-negotiable. You need respirators rated for glass dust, ANSI-approved eye protection, and heavy-duty cut-resistant gloves. Achieving consistent sizing manually is difficult, often resulting in an uneven final finish with large chunks protruding from the matrix.
Calculating pounds per square foot depends on the desired thickness and aggregate density. A standard 3/8-inch epoxy terrazzo floor requires specific weight calculations based on the chosen glass size and matrix density. Factor in waste margins; grinding, polishing, and surface leveling consume a portion of the aggregate depth. Always order 10-15% more aggregate than your strict mathematical calculation dictates to account for waste and mock-ups.
The edge profile of your aggregate affects both safety and performance. Sharp, raw crushed glass poses handling risks and protrudes dangerously in shallow pours. Mechanically tumbled glass is safer to handle and ideal for hand-pressed applications. Sharp edges provide a better mechanical lock within the binder, which benefits deep, fully encapsulated pours where handling safety is less of an issue. Choose tumbled glass for countertops and sharp glass for thick concrete slabs.
Using unwashed glass introduces severe chemical and structural risks. Microscopic glass dust acts as a bond breaker, preventing the resin or cement from adhering to the glass surface, leading to aggregate pop-outs during grinding. For high-end epoxy and eco-resin applications, specify double-washed and kiln-dried aggregates to ensure a strong bond and prevent cloudy resin finishes. Dust ruins the optical clarity of clear epoxies instantly.
Sourcing recycled glass bottles and industrial glass waste offers significant environmental benefits. Specifying 100% post-consumer recycled glass contributes to LEED certification points in commercial architectural projects. Verify the source and processing standards to ensure the recycled material meets the structural requirements of terrazzo applications. Not all recycled glass is processed cleanly enough for high-end architectural use.
The density differential between heavy glass and low-viscosity casting resins causes aggregate to sink. To mitigate this, pour in multiple shallow layers. Wait for the resin to reach a gel state before adding the glass, which increases viscosity and suspends the chips. For precise designs, place glass chips manually into the mold prior to pouring the binder. Managing the timing of the gel phase requires constant attention and temperature monitoring.
Glass aggregates pop out of the matrix during the grinding phase due to poor adhesion, aggressive diamond grit, or insufficient curing time. Ensure the binder is fully cured before grinding begins. Utilize step-by-step polishing progressions, starting with appropriate grit sizes, and apply grouting techniques to fill any pinholes or minor voids that appear during the process. Skipping grits will tear the glass out of the floor.
Before executing a full-scale pour, verify the chemical resistance of the aggregate. Conduct testing protocols by submerging sample chips in the specific solvent or resin you plan to use. Monitor for color leaching over 24 to 48 hours. Consider the impact of UV exposure; while inherently colored glass is UV stable, the surrounding epoxy matrix yellows over time, altering the overall appearance. Use aliphatic polyurethanes if UV stability is a strict requirement.
To ensure a successful installation, follow these immediate next steps:
Order small sample bags of your chosen aggregate to verify true-color stability and sizing consistency.
Conduct a mock-up pour using your exact binder to test for suspension, curing temperatures, and potential color bleed.
Perform a complete grinding and polishing sequence on the mock-up to identify any blowout risks or adhesion failures.
Calculate your total material requirements by weight, adding a 15% overage margin for waste and leveling.
A: Standard sizes like Size 1 (1/8"–1/4") and Size 2 (1/4"–3/8") are most common. A blended mix of these sizes fills voids between chips, ensuring a dense surface and structural stability.
A: Cheap surface-dyed craft glass bleeds when exposed to resins and solvents. High-quality, inherently colored glass remains stable and color-fast, preventing any leaching into the matrix.
A: Wait for the resin to reach its gel phase before adding the glass, pour in thin sequential layers, or pre-place the chips directly into the mold before pouring the binder.
A: Yes. Clear, translucent glass absorbs and reflects the color of the surrounding matrix, effectively taking on the hue of the tinted binder.
A: Tumbled glass offers safety and aesthetic benefits for shallow pours and hand-pressed items. Sharp edges provide better mechanical bonding in deep, fully encapsulated pours.
A: A basic DIY concrete ratio is 3 parts aggregate, 2 parts sand, and 1 part cement. For commercial epoxy, calculate pounds per square foot based on the desired floor thickness and aggregate density.
