- All
- Product Name
- Product Keyword
- Product Model
- Product Summary
- Product Description
- Multi Field Search
Views: 241 Author: Site Editor Publish Time: 2025-09-19 Origin: Site


Crushed glass resin art combines shimmering textures with the glossy, crystal-clear finish of resin, resulting in a unique and luxurious piece of décor. This style has grown in popularity because it transforms ordinary glass fragments into something breathtaking, whether it’s for wall art, trays, coasters, or jewelry. Unlike traditional resin techniques, working with crushed glass requires careful planning, safety precautions, and layering methods to highlight the sparkling fragments without losing clarity.
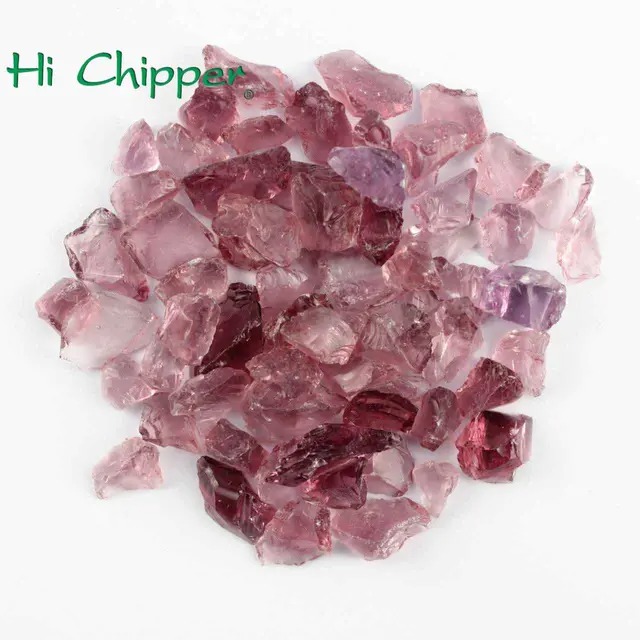
The type of crushed glass you select has a direct impact on the texture, sparkle, and overall finish of your artwork. Crushed glass comes in many colors, shapes, and sizes, ranging from fine granules to chunky shards. For beginners, medium-sized glass is easier to handle since it adds sparkle without overwhelming the resin. You can also experiment with iridescent or colored crushed glass to achieve a particular mood—cool tones for ocean-inspired pieces or warm metallics for a luxe effect. Safety is important: always use pre-tumbled glass designed for art projects, as it has smoother edges compared to raw, sharp shards.
Comparison of Crushed Glass Types for Resin Art:
| Type of Crushed Glass | Appearance | Best Use Case | Safety Level |
|---|---|---|---|
| Fine granules | Sand-like shimmer | Background texture | Very safe |
| Medium chips | Balanced sparkle | Most wall art, coasters | Safe if pre-tumbled |
| Large shards | Bold highlights | Statement sections | Requires careful sealing |
Choosing glass is not only about aesthetics but also how the resin flows around it. Larger shards may protrude unless layered properly, while finer granules blend smoothly. Consider your design goal before making a purchase.

Before starting, set up a clean, well-ventilated workspace with protective coverings, since resin can be messy and difficult to remove once cured. Gather essential materials: epoxy resin, crushed glass, mixing cups, stir sticks, gloves, a heat gun, and a mold or canvas base. Resin projects are time-sensitive, so organizing tools beforehand ensures a smoother process. Wear protective gear like gloves and safety glasses, especially when handling crushed glass.
Another important step is preparing your surface. If using a canvas, seal it with gesso or a base coat to prevent resin from soaking through. For molds or trays, apply a mold release spray to guarantee easy removal. Temperature control matters as well—resin cures best in a stable environment between 70–75°F (21–24°C). Taking the time to prepare not only prevents accidents but also increases the clarity and quality of the final piece.
The resin mixture is the foundation of your artwork, and accuracy is critical. Most epoxy resins require a 1:1 ratio of resin to hardener, but always follow manufacturer instructions. Stir slowly and thoroughly for at least 3 minutes to minimize bubbles, scraping the sides and bottom of the cup.
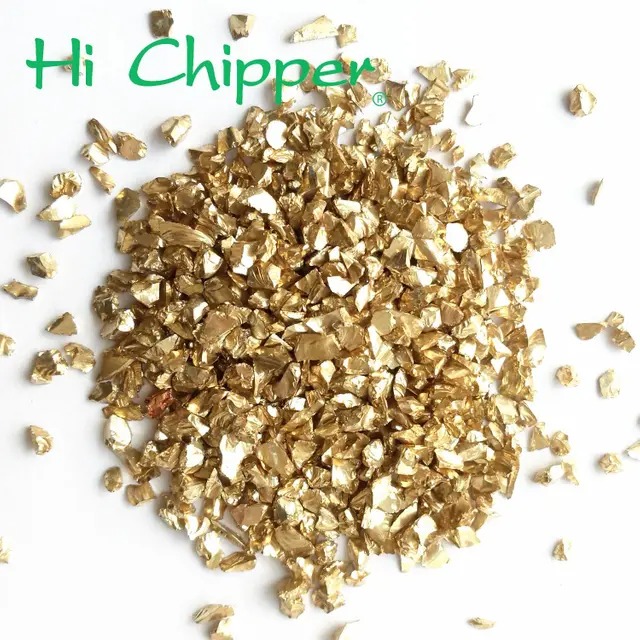
Coloring resin opens creative possibilities. Use mica powders, liquid pigments, or alcohol inks to complement the sparkle of the crushed glass. For example, a deep blue background enhances iridescent glass, while metallic pigments pair beautifully with gold glass chips. Avoid over-pigmenting, as it can make the resin opaque and reduce the visibility of your crushed glass layers.
Resin Additives and Their Effects:
| Additive | Effect | Best Paired With |
|---|---|---|
| Mica powder | Shimmer, solid color | Metallic crushed glass |
| Alcohol ink | Transparent, marbled look | Clear or iridescent glass |
| Glitter | Extra sparkle | Fine crushed glass blends |
A crucial tip: divide your resin into small batches if you plan on layering, as resin begins curing within 30–45 minutes. This ensures each step can be done carefully without rushing.
Designing resin art with crushed glass is about balance—too little, and the sparkle gets lost; too much, and the resin struggles to cover it evenly. Start by placing crushed glass on your canvas or mold before pouring resin. This anchors the pieces in place and helps you visualize the design. You can create geode-inspired edges, sparkling rivers, or abstract textures depending on placement.
Layering is what gives crushed glass resin art its depth. Pour a thin resin coat first, let it sit until tacky, and then gently press the glass fragments in place. Seal with another resin layer to encase the glass completely. This creates a smooth surface and prevents sharp edges from sticking out. Repeat as needed for extra dimension.
For best results, experiment with contrasting sizes: use larger shards as focal points and sprinkle fine granules to fill in gaps. The resin magnifies the glass, so even small pieces catch the light beautifully.
Air bubbles are one of the biggest challenges in resin art, especially when working with crushed glass that traps pockets of air. To minimize bubbles, stir resin slowly and pour in thin layers. After pouring, pass a heat gun or torch over the surface in quick sweeps to release trapped air. Avoid holding heat in one spot for too long, as it can scorch the resin.
Once the resin cures (typically 24–48 hours depending on brand), evaluate the surface. If any glass shards protrude, sand them down carefully and apply a final thin resin coat for a glassy, smooth finish. This top layer not only improves the feel but also protects your artwork from dust and scratches. Finishing touches like metallic paint lines or gold leaf accents can be added after sanding and sealed again with resin for a luxurious look.
While resin and crushed glass are stunning materials, they require strict safety practices. Resin contains chemicals that can irritate skin and lungs, so gloves and masks are essential. Always work in a space with proper ventilation, or use a respirator if necessary. Spills should be cleaned immediately with disposable wipes or paper towels.
Crushed glass also presents risks if not handled carefully. Even tumbled glass can have sharper edges, so always wear protective gloves and goggles. Keep the materials out of reach of children and pets, and dispose of leftover resin responsibly—never pour it down the drain. By prioritizing safety, you can enjoy the creative process without accidents or long-term hazards.

Once your piece is cured and finished, proper display and care will keep it looking vibrant. Wall art should be hung away from direct sunlight, as prolonged UV exposure may yellow resin over time. For functional pieces like trays or coasters, ensure the resin is fully cured before use to prevent dents or imprints.
Cleaning is simple: wipe with a soft damp cloth and avoid abrasive cleaners that could scratch the glossy surface. If gifting or selling your crushed glass resin art, provide care instructions to recipients so they understand how to maintain its shine. With proper care, your creations can last for decades without losing clarity or sparkle.
Making crushed glass resin art is a rewarding process that combines creative design with technical precision. From selecting the right crushed glass to mastering layering techniques, every step contributes to the final brilliance of your piece. While safety and patience are key, the results are stunning artworks that shimmer with depth and light. Whether you’re creating for personal enjoyment or as a business venture, crushed glass resin art opens endless possibilities for unique, high-end décor.
1. Can I use regular broken glass instead of crushed glass?
It’s not recommended. Regular glass can have dangerously sharp edges and may not bond well with resin. Always use pre-tumbled crushed glass designed for art projects.
2. How do I stop crushed glass from sinking in resin?
Pour a thin resin layer first, let it become tacky, and then place the glass. This prevents it from sinking to the bottom.
3. Is crushed glass resin art safe to use on serving trays?
Yes, as long as the glass is fully encased in resin and the surface is smooth. However, do not use resin items for direct food contact unless the resin is specifically labeled food-safe.
4. How long does crushed glass resin art take to cure?
Most projects require 24–48 hours for initial curing and up to 7 days for full hardness, depending on the resin brand.
5. Can I mix different colors of crushed glass in one piece?
Absolutely. Mixing colors can create striking contrasts and depth, especially when layered with complementary resin pigments.